
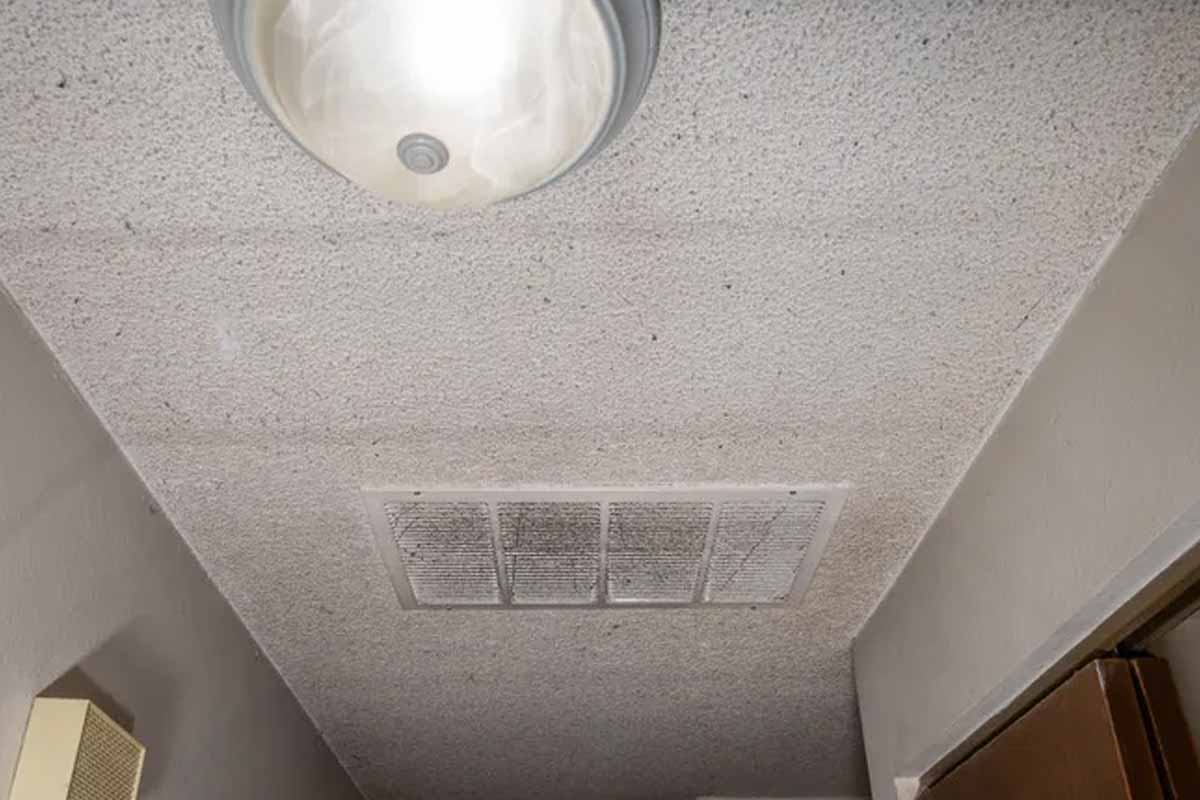
You look up, and the room feels older than it is. That textured dome steals light, clings to dust, and refuses to clean easily. A simple plan fixes it without drama, and the path is safer than you think. With care, you transform a tired lid into a crisp surface. Start small, work steadily, and remember that popcorn ceiling removal rewards patience more than force.
Safety first and what this texture still hides
Begin with the non-negotiable step: test for asbestos. Homes from certain eras sometimes contain fibers in ceiling texture, which is why you must verify status before work. When a lab report or certified pro says “asbestos,” do not scrape. It is not a DIY worth risking your health.
Once the test is clear, set scope and method. You’ll remove texture rather than cover it with insulation and drywall, since a direct takedown delivers a smoother surface. The job modernizes the room and helps eliminate cobwebs and dust that cling to peaks. Mentioned benefits prove real the moment light hits a flat plane.
Work only in stable conditions and plan breaks. Because ceilings shed debris, eye protection and a mask stay on throughout. A shop vacuum limits dust while you move. Mention HVAC early: switch off heating and air conditioning, as air movement spreads particles. Small sections control mess and improve results with any popcorn ceiling.
Tools and prep that tame a popcorn ceiling mess
Gather a ladder, drywall knife, and a floor-blade scraper sized for steady strokes. Add paper or plastic sheeting for the floors, painter’s tape for edges, and sturdy trash bags. A shop vacuum maintains airflow at the surface, so dust stays low. Safety goggles, a protective mask, and throwaway clothing complete the kit.
Water makes scraping easier. A pump sprayer delivers a fine mist; a hose and container stand in when needed. Tape protective paper tightly along the room’s perimeter to create a catch-all. Because drips and fragments follow gravity, that taped edge saves cleanup time and keeps flooring clear while you move from panel to panel.
Clear furniture, then shut down the HVAC. Since vents push and pull air, turning them off prevents circulation of wet particles. Keep lighting safe with plastic around fixtures. Stage tools so they’re within reach at the ladder. A final check helps: tape seams tight, set bags open, and test the sprayer pattern on a small popcorn ceiling patch.
Fast method for unpainted texture and fewer surprises
Unpainted texture lifts easily. Mist a small area until the surface darkens, wait a few minutes, then glide the floor-blade scraper at a low angle. Because water softens peaks, they release in broad ribbons. Keep strokes steady, and collect debris on the sheeting.
Refresh the mist as you advance. While one section soaks, scrape the prior one, which keeps momentum without rushing. The drywall knife helps around edges and corners where a wide blade can’t sit flat. Trim ridges gently, and avoid gouging paper on the gypsum. A light hand protects the ceiling’s base and reduces later sanding.
Stay organized to speed cleanup. Slide debris toward the taped perimeter, then lift sections of sheeting into bags. A shop vacuum catches fines along baseboards. Even with easier removal, patience still matters. Work section by section, keep water modest, and watch for soft spots. The goal remains a smooth substrate beneath the popcorn ceiling texture.
Painted texture requires three stages and patient timing
Paint seals texture, so break that barrier first. Start with a dry scrape to score and fracture the paint film without forcing it. Because the coat resists water at first, light passes open tiny paths. You’re not chasing perfect removal yet; you’re creating access so moisture can sink into the valleys.
Now add water and wait several minutes. Since some ceilings carry multiple layers of paint, repeat the dry-then-wet cycle until the surface darkens evenly. Each pass improves absorption. When resistance fades, mist again and let the water sit for 10 or more minutes. That patience lets moisture reach the base of the peaks.
Begin the final scrape. Keep the blade low and steady, and travel with the seams. Because the paint has relaxed, texture lifts more cleanly. Touch corners with the drywall knife. Maintain the perimeter catch-all and vacuum fines as you go. This staged approach turns a stubborn, sealed popcorn ceiling into a controlled, predictable process.
Finish choices after your popcorn ceiling comes down
Hold shape on cleanup first. Ensure floor paper stays well taped along edges so debris lands where planned. Keep heating and air conditioning off until dust settles, as airflow can undo your work. Remove large fragments, then vacuum baseboards and corners. Because order matters, bag waste before sanding or finishing steps.
With texture gone, sand lightly to blend small ridges. A wipedown prepares for primer and paint, which deliver the crisp, modern look many homeowners want. Lighting changes the result, so test sheen on a small zone. A satin or matte ceiling softens reflections and hides minor seams, while bright white amplifies clarity.
If scraping proves too laborious, cover the surface instead. A shiplap-inspired DIY adds clean lines without dust and gives strong character. Because both routes modernize a space, choose based on time and finish goals. Either way, the room feels smoother and brighter. The weekend you invest returns long-term value beyond the popcorn ceiling era.
A safer process that rewards your weekend effort
Trade dingy peaks for a smooth plane, and the room immediately feels fresh. Verify asbestos first, gear up, then choose the right method for paint or bare texture. Because careful prep controls mess, the finish comes faster. After sanding and paint—or a smart cover—your popcorn ceiling becomes a clean canvas above everyday life.